How Can We Help?
Create Your Stripe Connected Account
Process Steps:
1. Initiate Account Setup
Click on the “Stripe Account” button within the RunHOA setup page to start the process.
2. Begin with Stripe
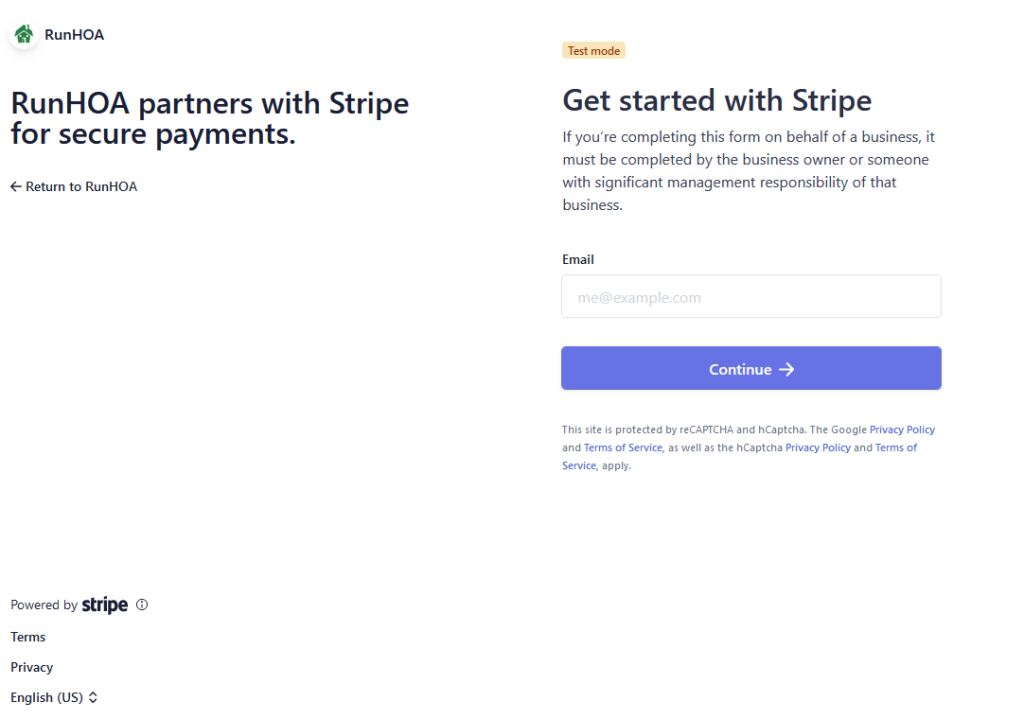
- You’ll be directed to a page confirming RunHOA’s partnership with Stripe for secure payments. This reassures you that all transactions will be handled with utmost security.
- A “Get started with Stripe” page will appear. Here, if you’re representing your HOA, ensure the form is filled out by someone with significant management responsibility.
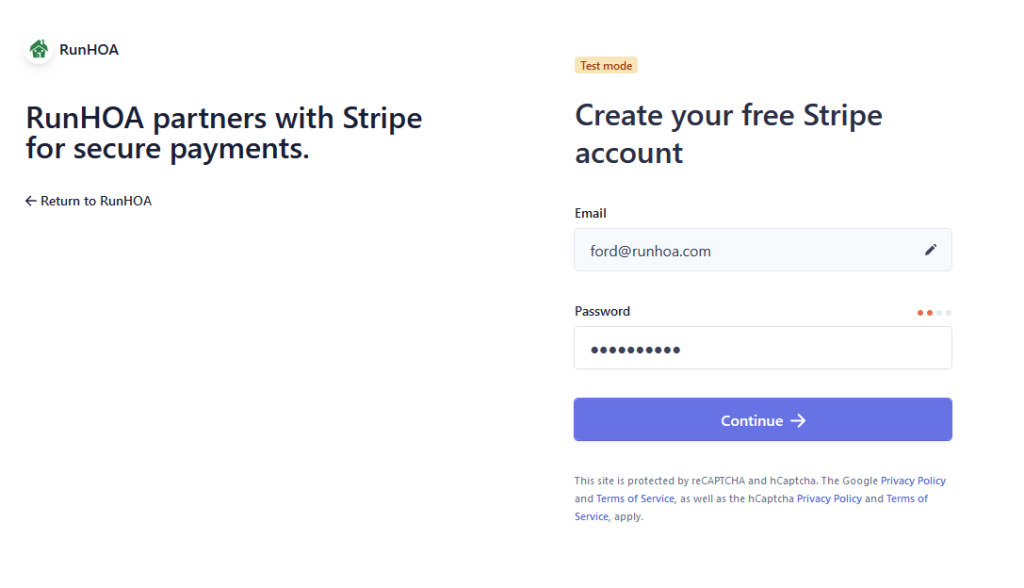
3. Enter Email & Password to create account
- Input your email address and password to create or link to a Stripe account. This will be your primary communication line for all payment-related notifications.
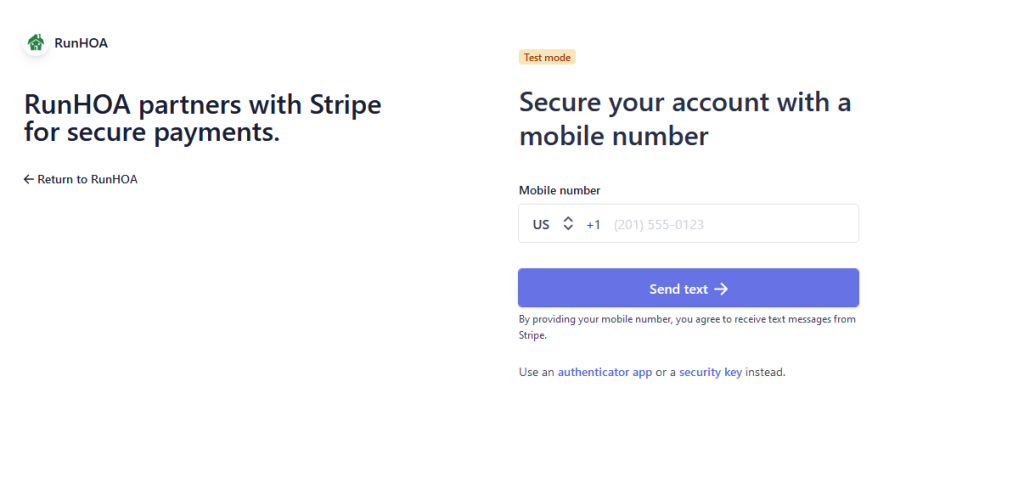
4. Secure Your Account
- Add a mobile number to secure your account with a two-factor authentication process, ensuring that only authorized personnel can access the payment system.
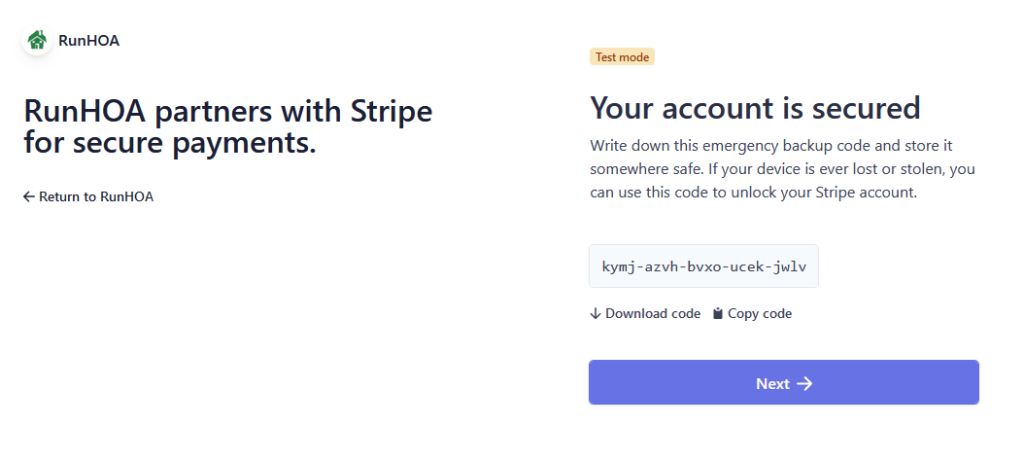
5. Account Verification
You’ll receive an emergency backup code for additional security. Store this code safely as it’s crucial for account recovery.
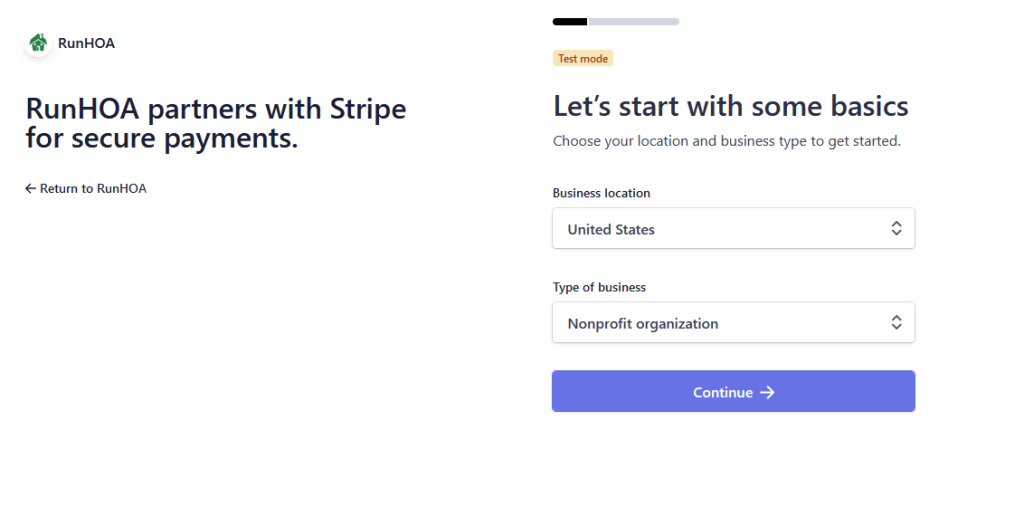
6. Basic Information
- Input the basics, like your business location and the type of business. For HOAs, you’ll likely select “Nonprofit organization.”
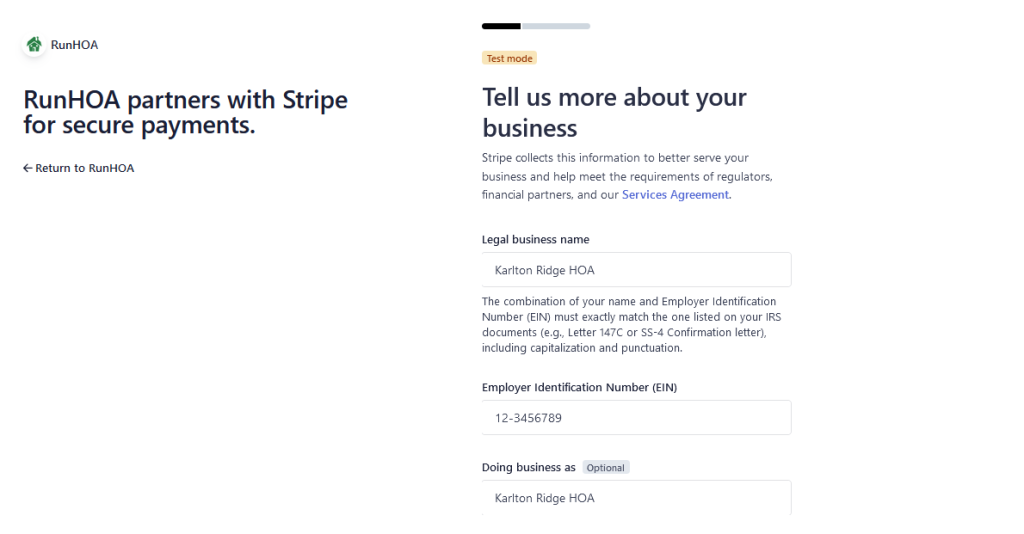
7. Business Details
Provide detailed business information, including the legal business name and Employer Identification Number (EIN), which must match the one listed on your IRS documents.

8. Verify Your Identity
- Enter your legal name and job title.
- Provide additional details such as your date of birth and the last four digits of your Social Security Number for verification.


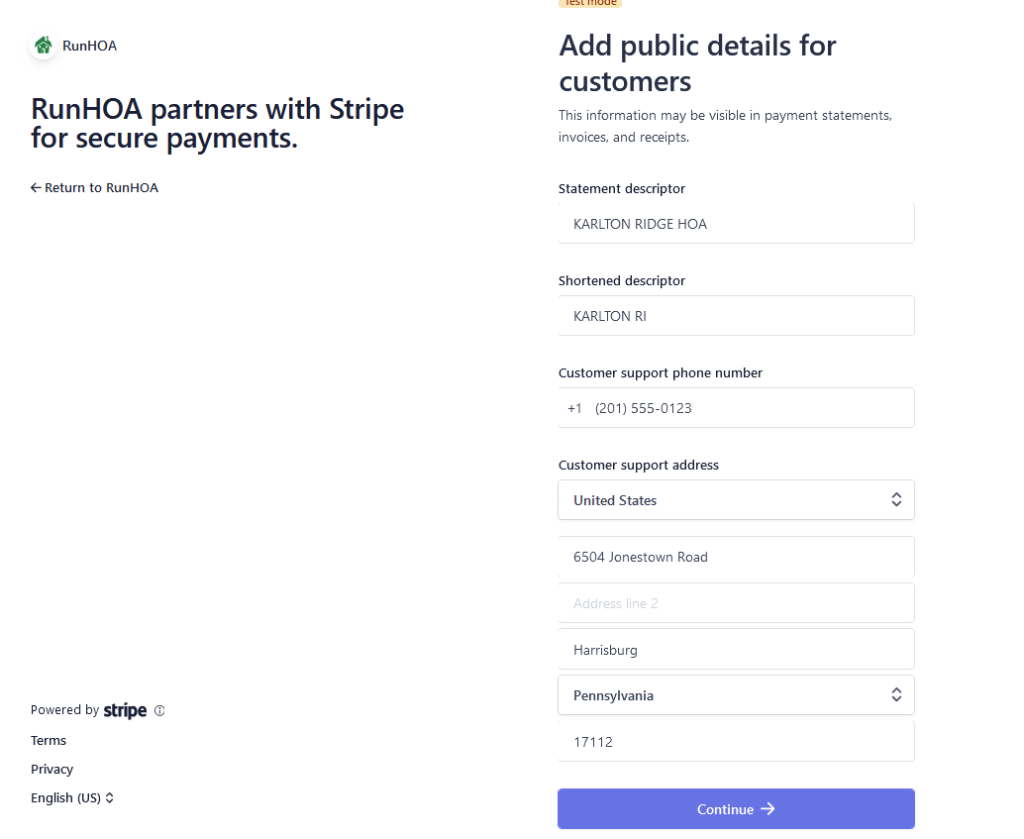
9. Configure Public Business Details
- Input how you’d like your business to be listed on customer statements and invoices.
- Add your customer support phone number and address.
10. Agree and Submit
- Read the Connected Account Agreement.
- Click “Agree and submit” to finalize the setup of your Stripe account.

11. Account Confirmation
- Once submitted, you should receive a confirmation that your Stripe account is set up successfully.
- You will be prompted to log in to your Stripe dashboard to enter any other information needed by Stripe and retrieve the live keys.
- Note that live keys will be available only after all the information needed is entered.

12. Complete Any Additional Stripe Requirements
- If Stripe requires more information after the initial setup, they will notify you or say so on the dashboard. This can include additional verification of identity or clarification of business activities.
- Verify your email for Stripe.
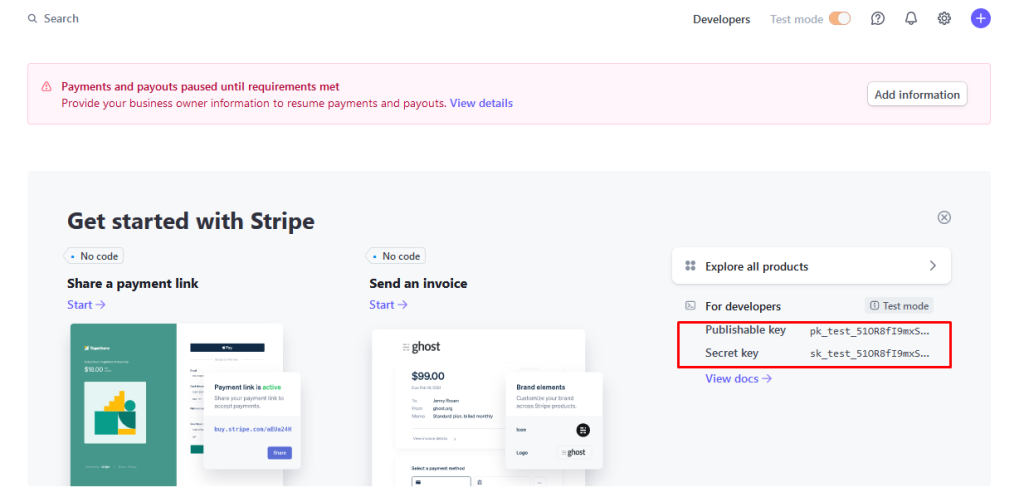


13. Retrieve Stripe API Keys
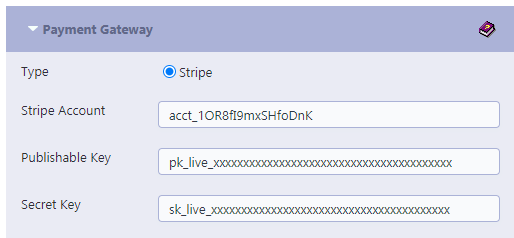
- Once your account is set up, you’ll need to access your Stripe dashboard to retrieve your live API keys.
- These keys are necessary for RunHOA to process payments and must be entered into the RunHOA payment settings.
- This will be the Publishable Key and Secret Key. Do not change the Stripe Account.

14. Stripe Processing Fees
- Stripe’s processing fees for online credit card payments are set at 2.9% + $0.30 per successful transaction.
- For ACH Direct Debit payments, there is a 0.8% fee, capped at $5.00, for standard settlement.
Please note that RunHOA does not add any extra processing fees on top of those incurred through Stripe. Stripe’s charges are determined by their own fee structure and RunHOA has no influence over these costs. For detailed information on Stripe’s processing fees, please refer to their official pricing documentation.
It’s important to know that all payments processed via RunHOA are directly deposited into your associated Stripe account. RunHOA acts as a facilitator for these transactions,, but does not hold the funds at any point during the process. For a detailed understanding of how Stripe handles funds and the time frames for bank transfers, you should consult the documentation or support provided by Stripe.